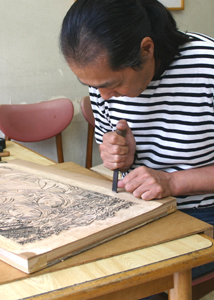
The 5th Week
From July 5th to the 11th

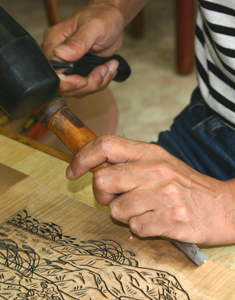
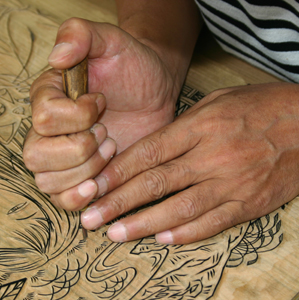
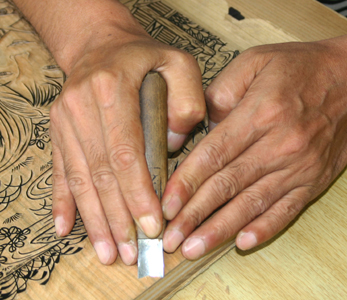
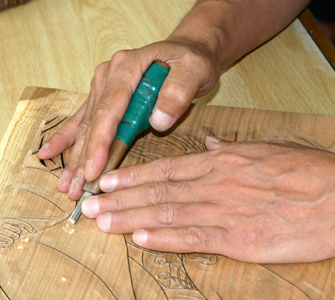

Holding the kento-nomi
Holding the toh
Holding the marunomi
Holding the aisuki
Holding the komasuki
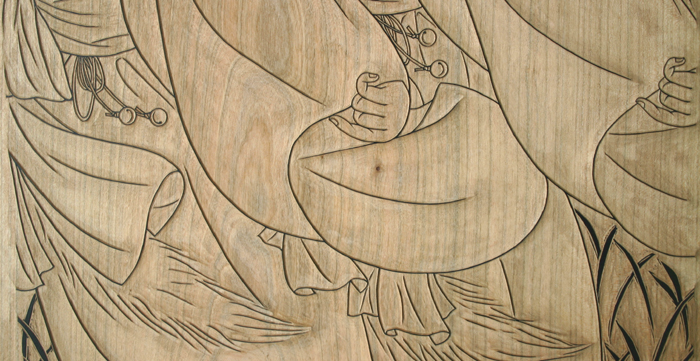
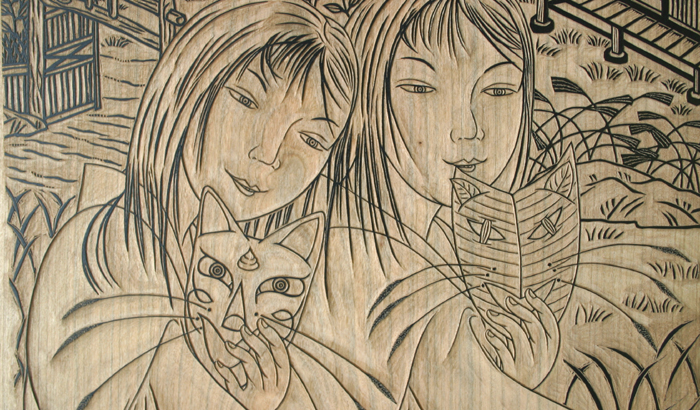
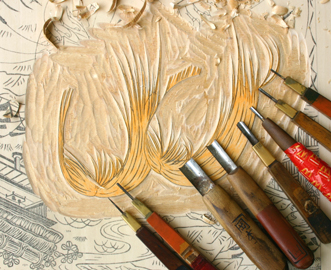
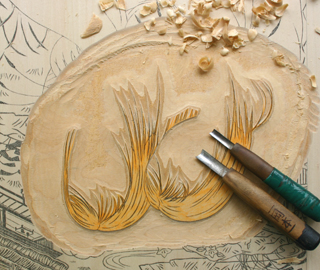
The third carving
almost finished
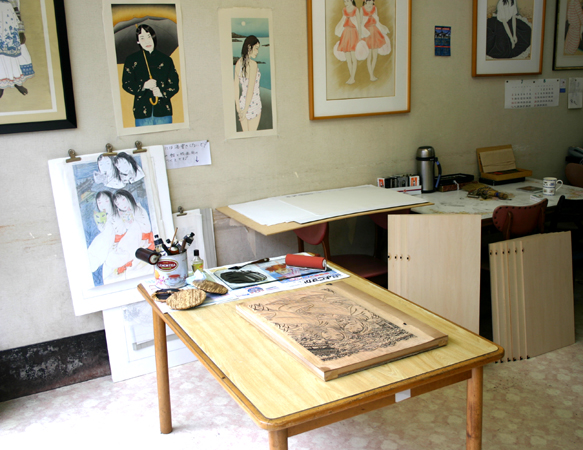
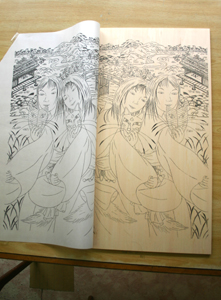
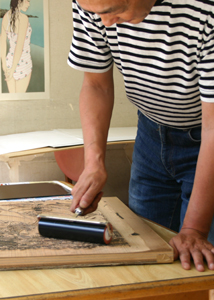
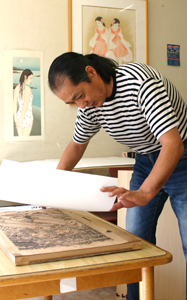
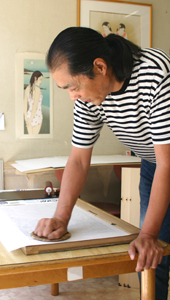
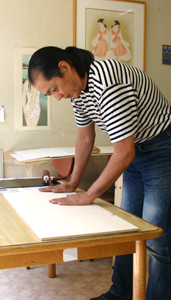
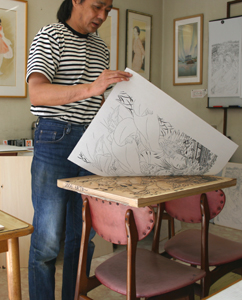
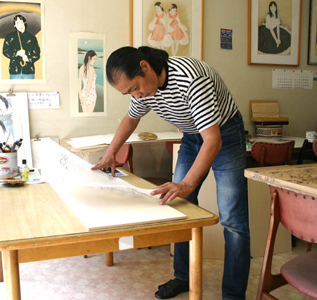
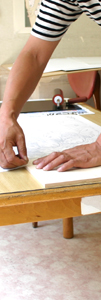
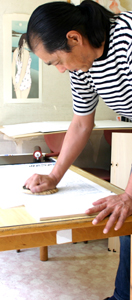
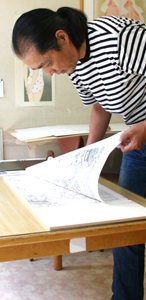
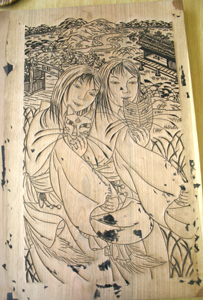
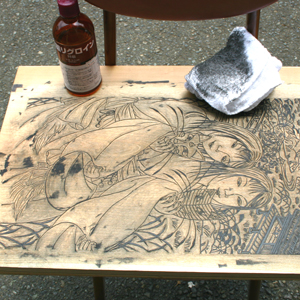
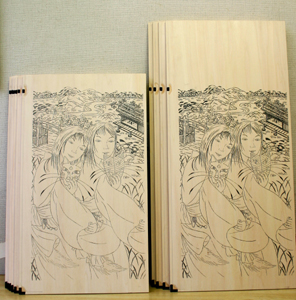
How to hold the various carving tools
The 6th Week
From July 12th to the 18th
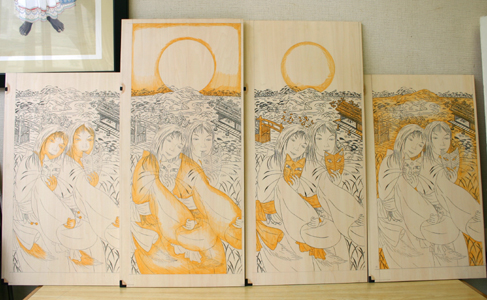
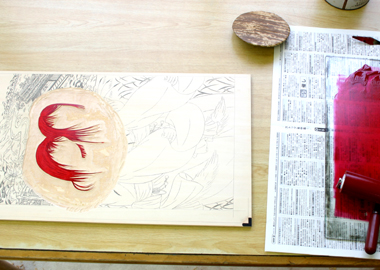
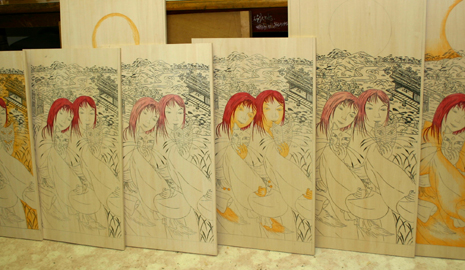
Making preparations for the iro-han or color blocks
I have used the Plywood veneer shina ( basswood ) which is 9mm thick and
contains 9 layers for the color blocks (A)
A
A
Shina has a fine texture and is thus very easy to work with.
Transfer the design from the key block to the color blocks (B)
Oil color or printing ink is used for the image transfer (C).
B
C
Placing tracing paper on the key block (D).
D
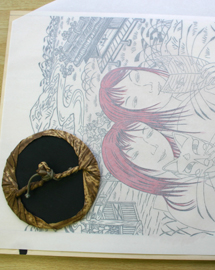
Printing the design from the key block onto tracing paper using a baren
,the circular printing pad which is indispensable for woodblock printing
(E).
E
Wiping off the dust (F).
Removing the print from the key block (G).
F
G
Placing the print onto the color block (H).
H
Securing in position with Scotch tape (I).
I
Transferring the design onto a color block (J).
Checking (K).
J
K
Wiping the key block clean (L)
L
The first carving
The second carving
The third carving
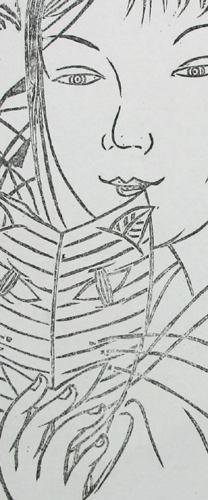
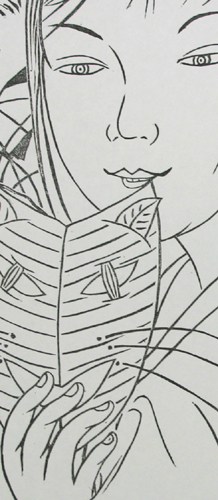


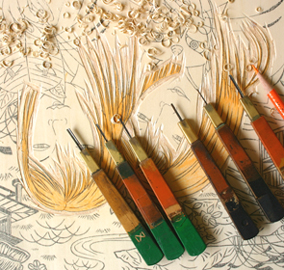
(special flat chisel for carving kento)
( U gouge )
(bull nose chisel)
(skew knife)
( U gouge )
From July 19th to August 1st
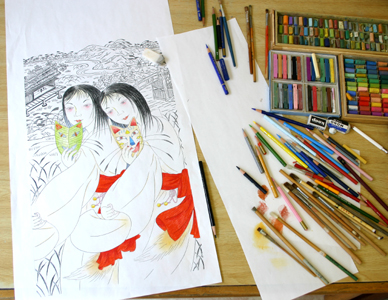
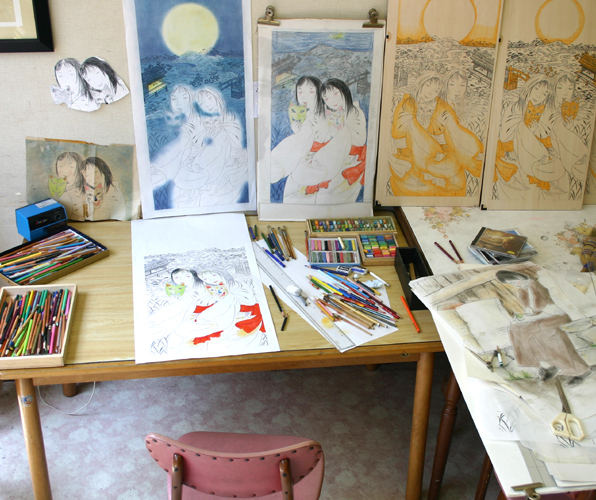
Completing the drawing
Without the completed drawing,it is almost impossible to make plans for
color blocks.
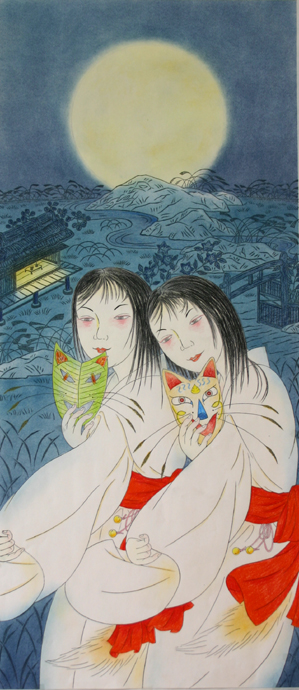
I sometimes hide secret words or symbols in my work.
This image includes three such secrets .
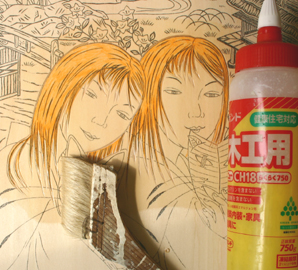
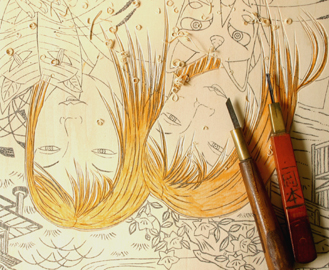
Making the surface of the Shina block harder with diluted Bond or other wood adhesive (A),(B).
A
B
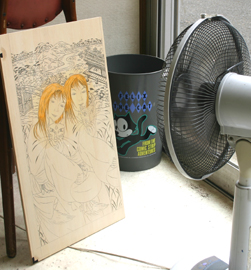
Drying the glue (C) . Sanding the surface smooth (D).
The cutting of the color blocks does not require such strict accuracy as
is required for the key block.
This is due to the thickness of the lines in the drawing. When the lines
are printed from the key block in a dark tone, they cover and conceal any
fluctuating edges in the color blocks caused by an unsteady carving hand.
C
D
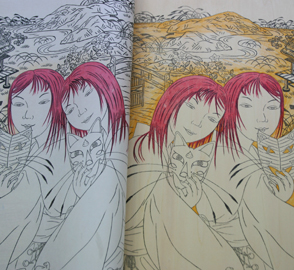
Transfer a figure from one block to the other blocks.