Diary of Carving Woodblocks
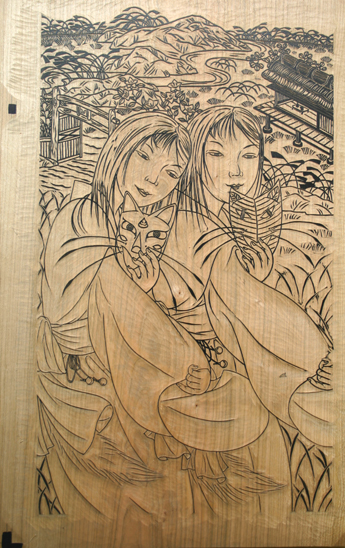
Series White Fox
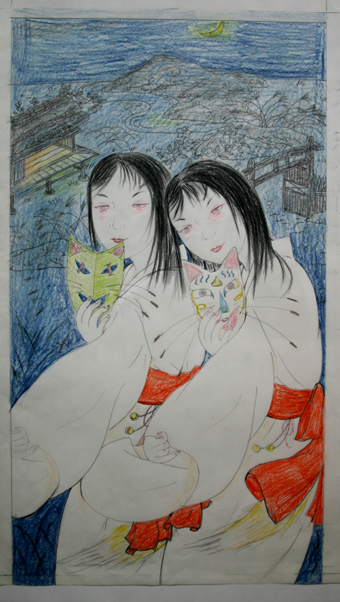
Temptation
The 1st Week
From June 7th to the 13th, 2006.
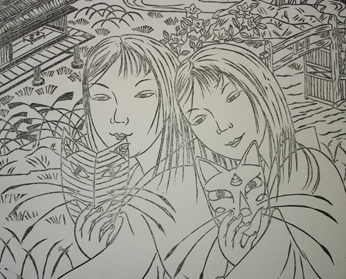
Making the rough sketch
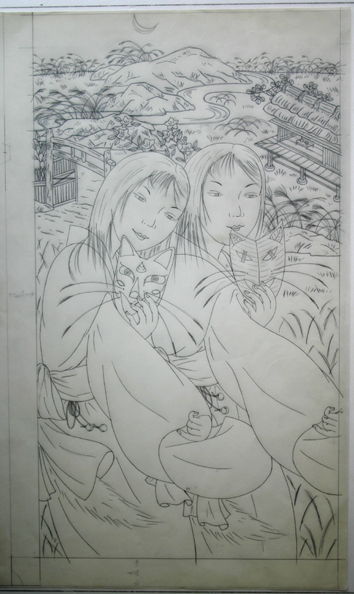
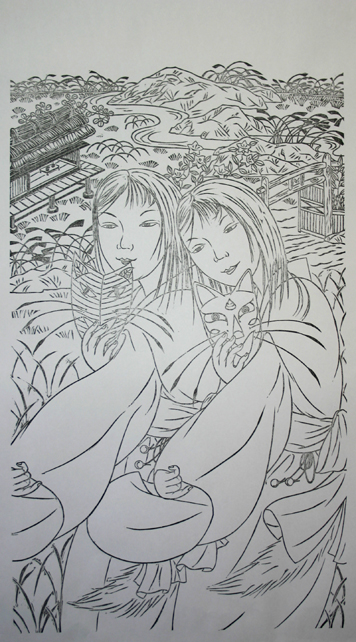
Drawing the design for the key block
The 2nd Week
From June 14th to the 20th

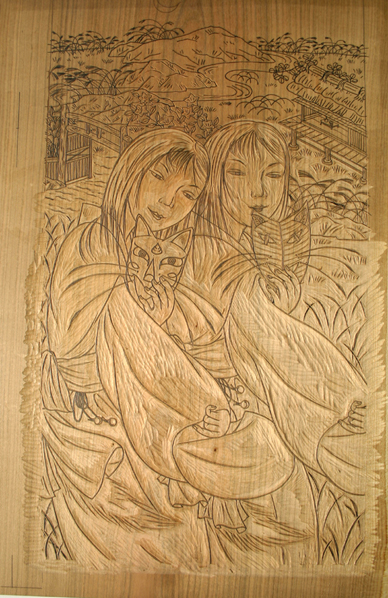
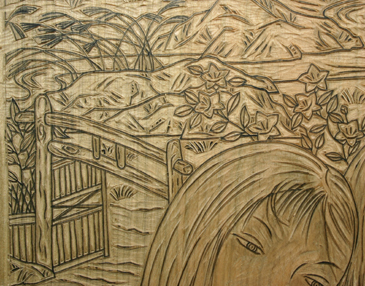
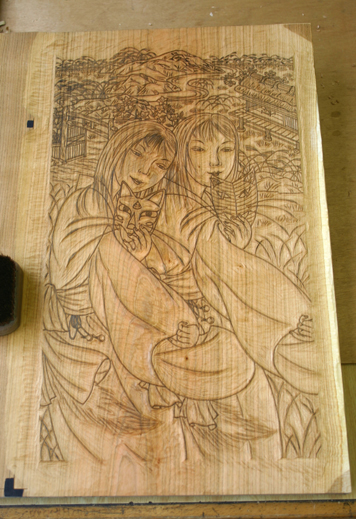
Cutting along the lines to an
even depth using the hangi-toh
Clearing away the unnecessary parts
using the komasuki and aisuki
After completing the rough carving
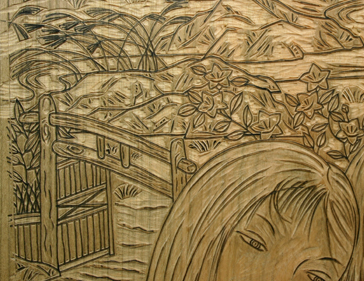
Moistening the woodblock with water
(to flatten any slight dents )
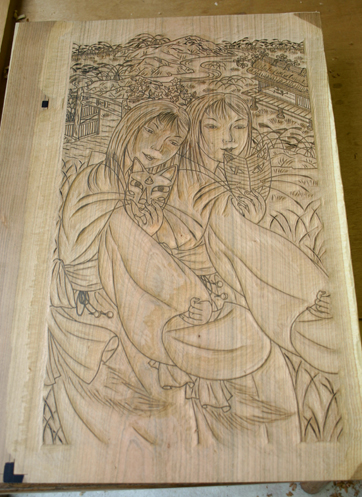
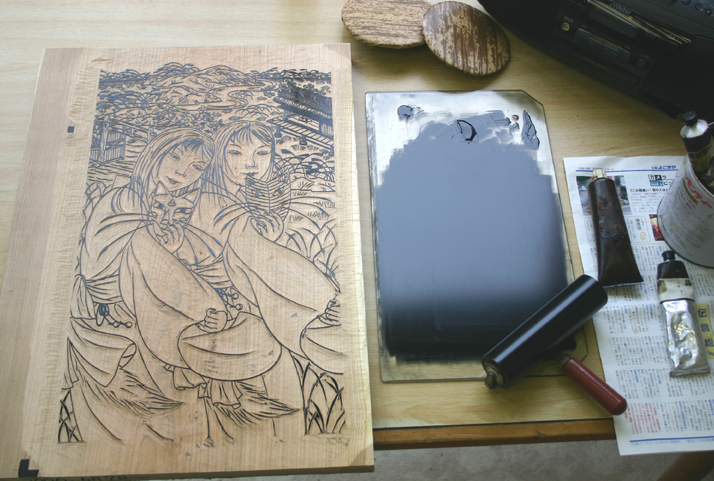
Applying oil-based ink on the key block with a roller. (to make the actual lines clear)
A
B
A
B
A
B
A
B
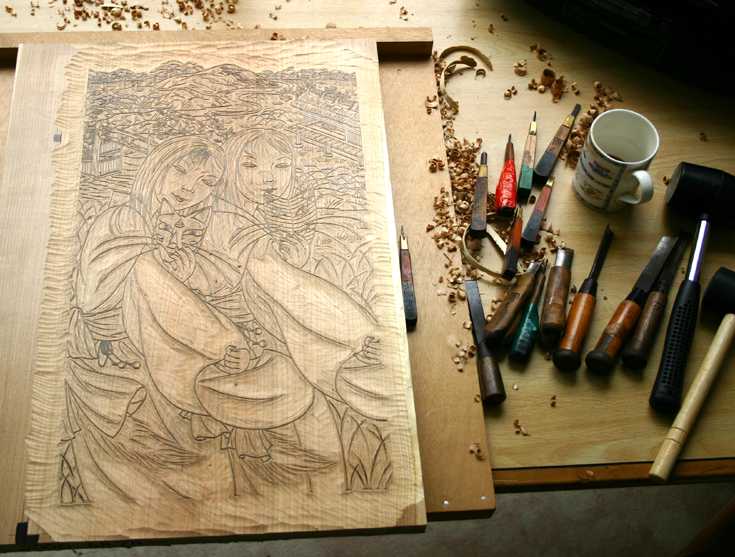
I usually carve the key block in at least three or four steps:.the rough carving, the middle carving, and the final carving.
Making the Kento
The kento is a simple device which insures the correct registration of
the image
throughout the printing process.
Kagi-Kento or corner (A) and Hikituke-kento or side (B)
It took 11 days to finish the rough carving
this time.
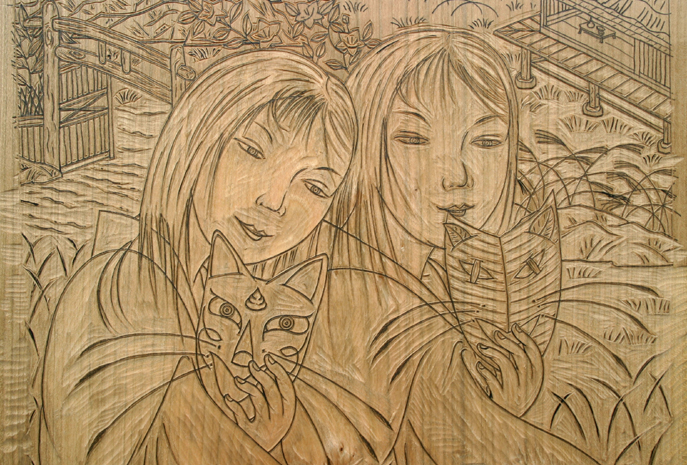
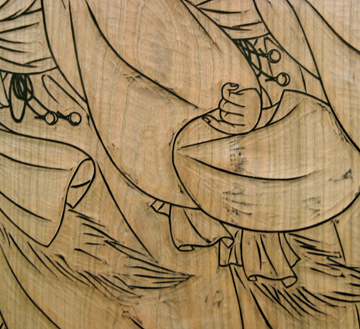
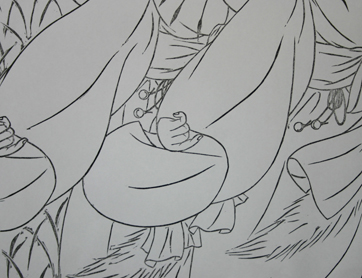
All of the lines are 3 or more times thicker than they should be.
The goal is to make every line thinner and smoother.
Beginning the middle carving step
From June 21st to July 4th
Hi, everyone ! Thank you for your kind e-mails !
Ryusei Okamoto
Starting the rough carving
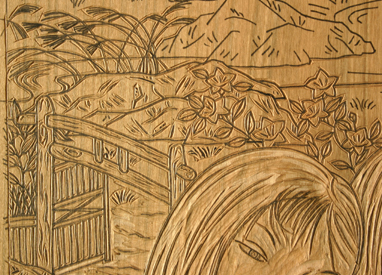
Comparison of the carved lines before (A) and after (B) the middle carving step
I express my heartfelt thanks to Mr. David Bull, Mr. Mike Lyon, Ms. Aeleen Frisch, and all of Baren members.
The blocks after printing
The blocks after printing might tell you something important about how
to make a woodblock print.
The Scenery
For Beginners
How to make a small and easy print in a day.
Printing
How to get two colors by one printing